
Installing ICC Profiles in Xitron Navigator
Introduction
This guide will explain how to configure the Xitron software for a PM-417 printhead. Before you can setup the printhead paramaters, it is important that the software is installed and licensed correctly. The Xitron software also requires that your computer has a valid IP address. This can be achieved by either connecting to a known network or by using a loopback adapter. If you do not have access to a known network, the following instructions can be used to install a loopback adapter in windows:
There are three different parts of the Xitron software that all work together.
1. The Server
2. The Rip (Navigator - SOAR)
3. The Client
The Server
The server is what connects The Rip and Client and always needs to be opened first. Once the server opens, the RIP will automatically open. Once the Rip has opened, you can open the Client (also known as Navigator).
Once initial settings are setup in the server, you shouldn't need to make any changes with normal operation.
The Rip
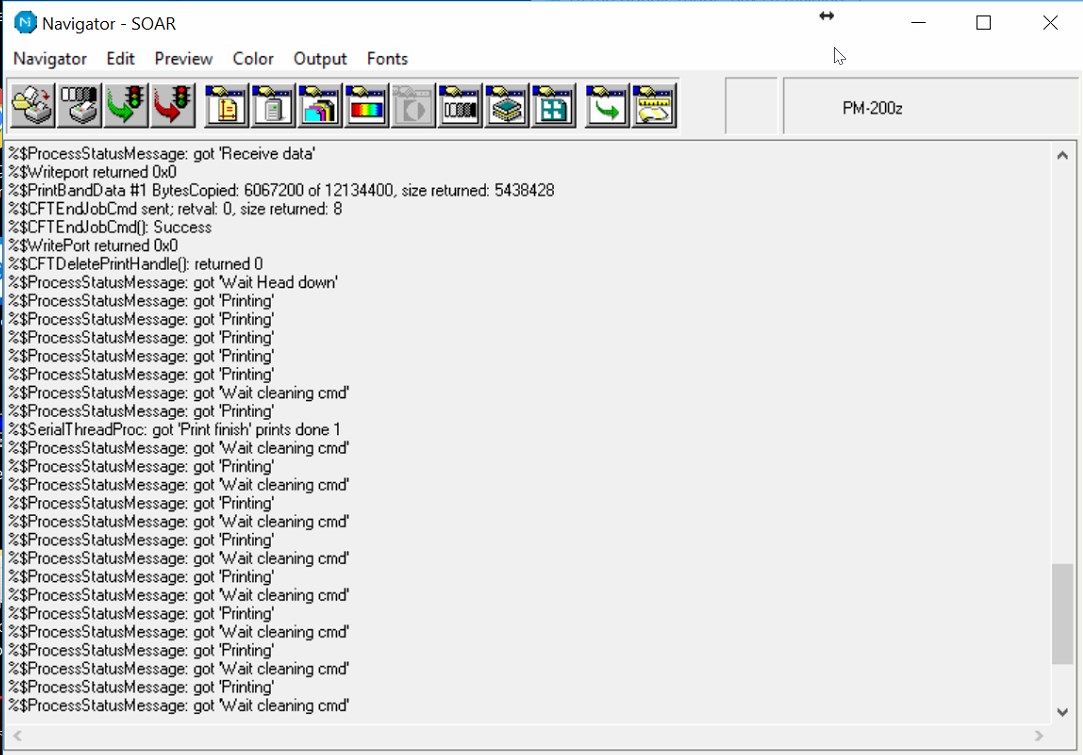
The Rip is the main brain behind the software and is what actually process jobs and sends the jobs down to the printer. If you try to close the rip while the server is still running, it will automatically reopen. Closing the rip can be used to establish a connection to the printer.
Page layouts, ICC color profiles, trapping, separation styles, and basically any major setting is usually configured in the RIP.
The Client

The Client is essentially a remote control for the RIP. Without the RIP open (which requires the server to be open), the client will not send anything to the printer nor will your settings display.
The Client can be installed on the same computer that is connected to the printer, or it can connect via the server from another computer as long as they are on the same network.
Once Major settings (such as page layouts and ICC profiles) have been installed in the RIP, you can choose which one to use for a workflow or job in the client. Once a system has been set up correctly, the Client should be the only user interface used (unless a new page layout or ICC profile needs to be installed).
Before We Start
After the software has been installed, there are a few things that need to be done before we open the software for setup.
1. Update the CFCons.ini File
You will need to download the below CFCons.ini File and save it to your computer in the following directory: C:\Navigator\Navigator 11.0r3
Windows will ask if you want to if you want to replace an existing file that is already in that directory. Be sure to click the copy and replace option:

2. Check USB Address and Com Port Settings
Ensure the printer is turned on and verify you are able to open the maintenance utility to ensure that a USB connection exist between the printer and the computer.
Ensure that the white USB to RS-232 adapter is also plugged into the computer.
Open the windows device manager - the easiest way to do this is to click the start menu and type "DEVICE MANAGER" - a shortcut should appear at the top.

Once the device manager is open, look for "OTHER DEVICES" and click the down arrow. You should see the name of the printer you have under under devices.
Right click the printer you have and select Properties.
In the properties window, navigate to the details tab
Under Property, select the option for Device Instance Path (In windows 10, this should be the second option)
Make a note of the last 6 characters of the device instance path which should look something like "USB001". You will need to enter this value into the xitron software when we set it up.

Make a note of your printer name which should be one of the following:
PM-200A
PM-200Z
PM-210A
PM-210Z
Next, click the down arrow next to the category PORTS (COM & LPT) in the device manager. Make a note on the value at the end of the device Prolific USB-to-Serial Comm Port. In the below animation, the value we need says "COM2"

You should now have the printer name, the USB port, and the COM port. See the sample data below:
Printer Name: PM-200Z
USB Port: USB001
COM Port: COM2
It is important that these are formatted as seen above - you do not want to include any other information when we enter these into the software.
3. Update the CFT.INI FILE
You will need to open the following file in windows: C:\Navigator\Navigator 11.0r3\SW\Devices\CFT\CFT.ini
The easiest way to open this configuration file is to copy the above file location (control + C) , click the start button, and paste location: (control + V)

Once the configuration file has been opened, make sure the ComPortName matches the com port information that we read from the device manager earlier. If it is not, update it and save the file by going to File Save. Once it has been updated, you can close the configuration file:

Setting up the Server
Open the server using the icon on the desktop:

The server window should open up followed by the Rip. There may be some windows that pop up displaying the software information that may need to be closed by pressing "OK".
Once everything is open, click Server Setup in the Server Taskbar and choose administrator login. Unless a password has been set, the default login credentials should work:

After you have been logged in as an Administrator, click Server Setup in the server taskbar again, and choose "Manage Devices"

Click the small "+" icon in the corner of the manage devices window and enter in your printer name. Note that the only acceptable values for printer name are as follows:
PM-200A
PM-200Z
PM-210A
PM-210Z
After you have entered your printer name, choose CFT as device type and click "OK"

Next you will need to fill out the rest of the device configuration.
Port Name is the USB Port information that was found earlier in the device manager.
The pinter configuration file is the CFCons.ini file that was downloaded earlier and can be found in the following directory:
C:\Navigator\Navigator 11.0r3
Printer Name should be the exact same value as Device name
Serial Port should be the COM Port that was also updated in the CFT.ini file

Once your settings have been updated, click the apply button.
Close the Manage Device Window
Close the Server by either pressing the X in the top right corner or selecting File -> exit in the task bar. Once closed you can reopen the server and the settings should be applied.
Checking your settings
Once the server and Rip have been restarted, you can now check the connection to the printer from the xitron software. Open the Client (navigator) and in the taskbar select view, devices. The printer you set up should be available to select:

Initial software setup is complete.