
PM-417 Bulk Ink Retrofit Kit Installation
Follow the instructions for shipping the printer to drain the system of all ink. Once the system has been drained, turn off the power and disconnect the power cord.
Remove the back panel (fig 1) and wipe valve cover (fig 2) from the ink tank box

Figure 1

Fig 2
Locate the 4 ink lines that connect the ink tank to the wipe valve. Remove these 4 ink lines being careful not to damage any of the fittings on the wipe valve or ink tank box

Install the four rubber caps onto the ink tank fittings.


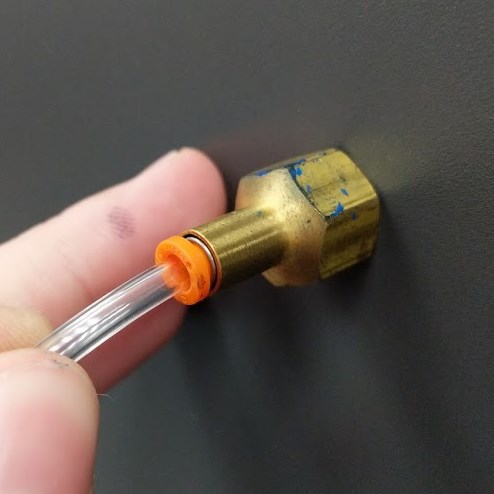
Connect the four included 3/32” ink lines to the bottom of the wipe valve being cautious not to damage the wipe valve fittings
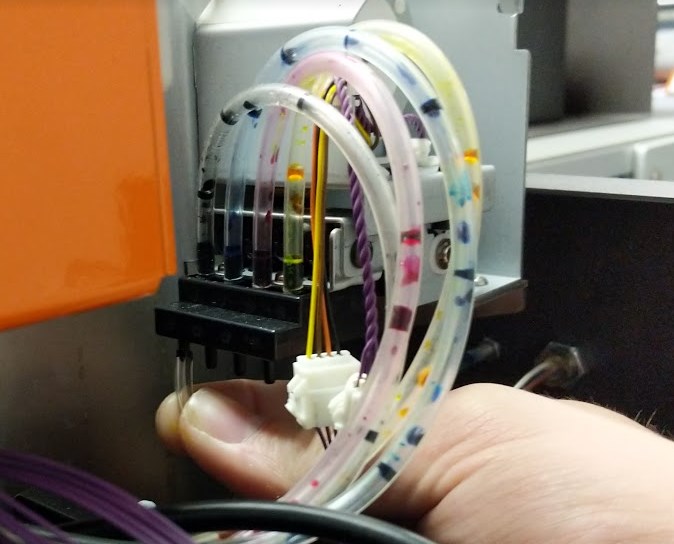
Connect the four new ink lines to the appropriate push to connect connector on the replacement back panel.
Disconnect the maintenance line from its internal nipple connection and route it to the MT push to connect fitting on the new back panel. This fitting allows for better flow from the maintenance line and reduces the chances of blocking with ink causing ink leakage in the module.
Reinstall the back panel and wipe valve cover onto the ink tank assembly. Install the four ink cartridges back into the ink tank box. Ink will not be drawn from these cartridges, but they are necessary for the system to work correctly. Anytime the maintenance utility ask you to remove the cartridges (shipping the printer / printhead replacement) you must remove the cartridges as well as connect the drain hose kit to the bulk fittings in order allow air into the system. The new bulk fittings are valved connections that automatically close when a connector is not being used.
For information on connecting bags of ink to the PM-417, visit the setup and installation section of our knowledge base